


")
Guest Post + Recipe Written by STudioist
Photos by Cameron Premo
“I’ve grown up surrounded by excellent cooks and bakers. My mom made dinner 98% of the time, cooking everything from traditional Ukrainian dishes to stir-fry recipes, even muffins for breakfast. My aunt, who lived with us most of my life, is an excellent baker, baking everything from our birthday cakes to holiday cookies and the best tiramisu (It’s insanely yum! Check out my GF/DF adaption here). My grandmothers made everything from casseroles to strawberry- rhubarb pies, and my dad…well…he is a disciple of the Big Green Egg.
I love to bake. And cook. And make. And eat. So when Hunter Premo asked me to assist her with a new series, which we’ve dubbed Fake It Till You Bake It, I jumped at the opportunity to help my newlywed future sister-in-law become more confident in the kitchen. Side note: I would have helped her anyway. 🙂
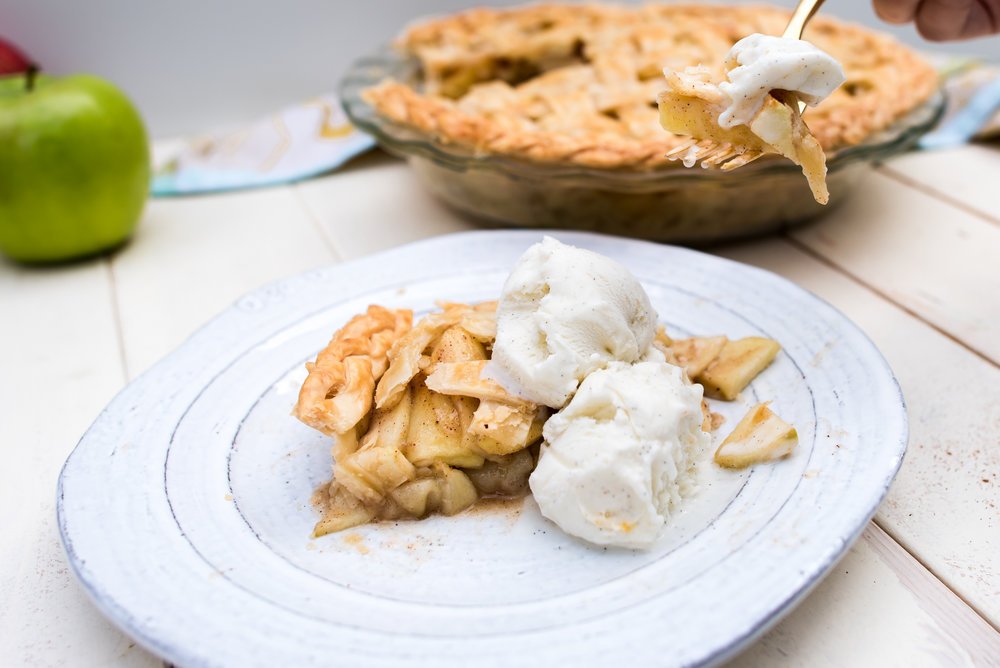
Our first objective—A crowd-pleasing Thanksgiving dessert. Something impressive, but not overly complicated. The solution—a classic lattice-top apple pie.
Crisp, tart apple slices coated with the perfect blend of fragrant spices, then wrapped up in buttery, flaky crust. I can hear the Hallelujah choir now! It’s a classic, American favorite and we’re going to make it the old-fashioned way so it tastes just a mouthwatering and scrumptious as it sounds.
I know you’re drooling out there (because I am too), but before we get started I’ve compiled a few tools and tips I’ve found beneficial.
If you’re new to home baking or pie making, there are a couple tools and utensils I would recommend to make the process easier and more enjoyable. Plus you’ll quickly see the benefits of these items and they will pay for themselves in stress avoidance alone.
- Glass Pie Pan—Vintage pie pans are pretty, but they heat unevenly and often stick. Glass pie pans are see-through allowing you to check on the crust, widely available, and affordable. That being said, if you are planning on making pies ahead of time and freezing them, you will want a metal pie pan as well to avoid potential cracking of glass pans when exposed to extreme temperatures. My recommendation: Pyrex and OvenStuff Metal Non-Stick Pie Pan.
- Wooden Rolling Dowel—The long dowel shape makes it easier to rollout a large pie crust or sheet of cookie dough. And the best part: you can purchase inexpensive silicon spacer ring sets to insure uniform rolling. These are great as they help novice bakers roll dough at even thicknesses, avoiding thin, uneven sections. My recommendations: J.K. Adams Rolling Dowel and Regency Evendough Bands.
- Knives—Do NOT skimp on quality knives. I can not stress this enough. If you’re a newlywed, you probably were gifted a knife set, but in truth most people really only need two—a sharp chef’s knife and a paring knife. Knives can be quite pricey so just remember they are an investment, which means don’t forget to properly care for them to insure their longevity. Plus dull knives are actually more dangerous than sharp ones. My recommendation: Shun Cutlery.
- Silicon Spatula—Look for a seamless one-piece spatula. They are a game-changer. No more food getting stuck between the handle and blade. No more blade breaking off when working with tough dough. No more scratching your pans. Silicon is durable, dishwasher-safe, can withstand extreme temperatures both ways (use it for more than just baking), and is naturally nonstick. Just remember to wash it as you go along to avoid the soft material absorbing odors. If you take good care of them, they will last forever. My recommendation: GIR: Get it Right Premium Silicon Spatula.
Helpful Tips & Tricks for Pie Success
1. Glazing—Brush the bottom crust and top crusts with beaten egg white. On the bottom crust, the egg will form a moisture barrier between the unbaked crust and the filling helping to keep the crust from becoming too soggy. This is especially useful for runnier fillings. On the top crust, the egg provides the shiny finish when baked and if you’re sprinkling the crust with sugar it helps the sugar granules stick.
2. Dusting Your Surface— A flour-dusted surface is necessary for rolling out dough that’s slightly sticky; however, the more flour that’s incorporated into the dough, the tougher the dough becomes. It’s a tightrope walk between too much and not enough. Baker’s tip: Use rice flour to dust your rolling surface. Since it’s gluten-free the additional flour won’t contribute to toughness.
3. Freeze Unbaked Pies—If you’re prepping for an event, let’s say Thanksgiving, pies are a great item to prep the day before and bake the day of. If you’re going this route, there are two things to remember: 1) Use a metal pie pan as the extreme change in temperature of glass pans may cause the glass to crack, which would be no good for anyone, and 2) Add 25-45 minutes to the total baking time since the pie is frozen. No need to miss out on the family festivities, just pop it in the oven.
4. The “Sacrificial” Slice—The first slice of pie will never be perfect. It will inevitably crumble and squish as it you struggle to get it out of the pan. But if you a cut a small sliver of pie and carefully remove it before cutting the rest of the pie into normal-sized slices, you’ll have more perfect pie pieces to serve. No one will be stuck with the ugly slice.
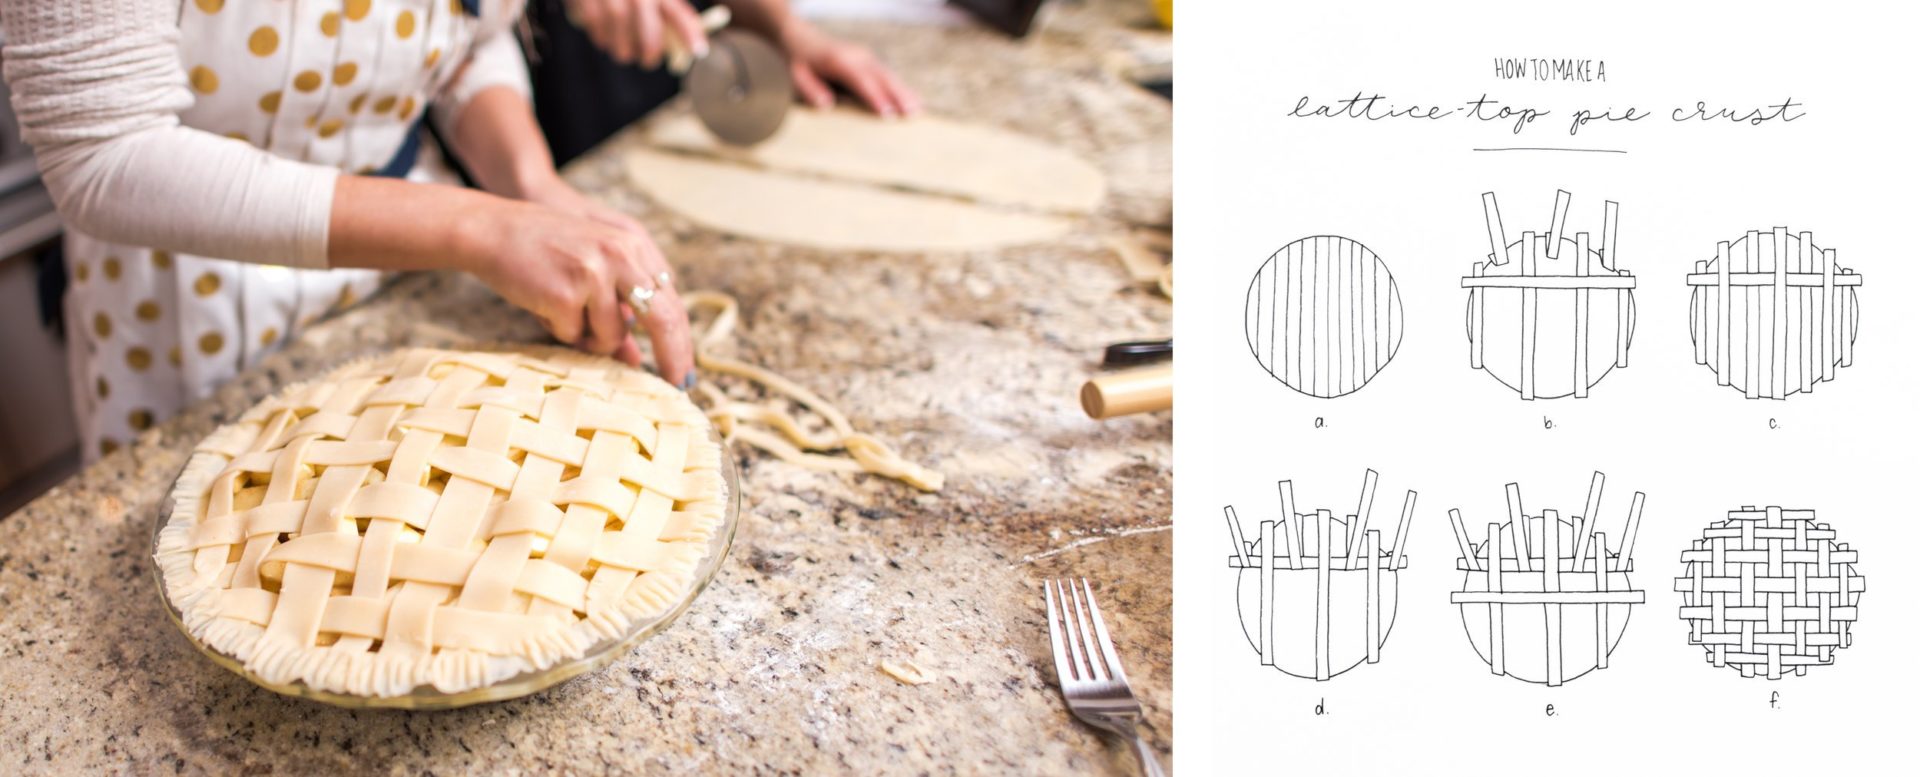
Lastly, one quick note on lattice work—Lattice work is much simpler than it appears or even as I describe it. Using a basic weaving technique…yes, like the one we all learned in lower school while making construction paper placemats. You know what I’m taking about: over, under, over, under… I’ve included an illustration for reference. It’s one of those things that makes more sense as you do it.
You ready to get started? LET’S DO THIS THING!” – STudioist
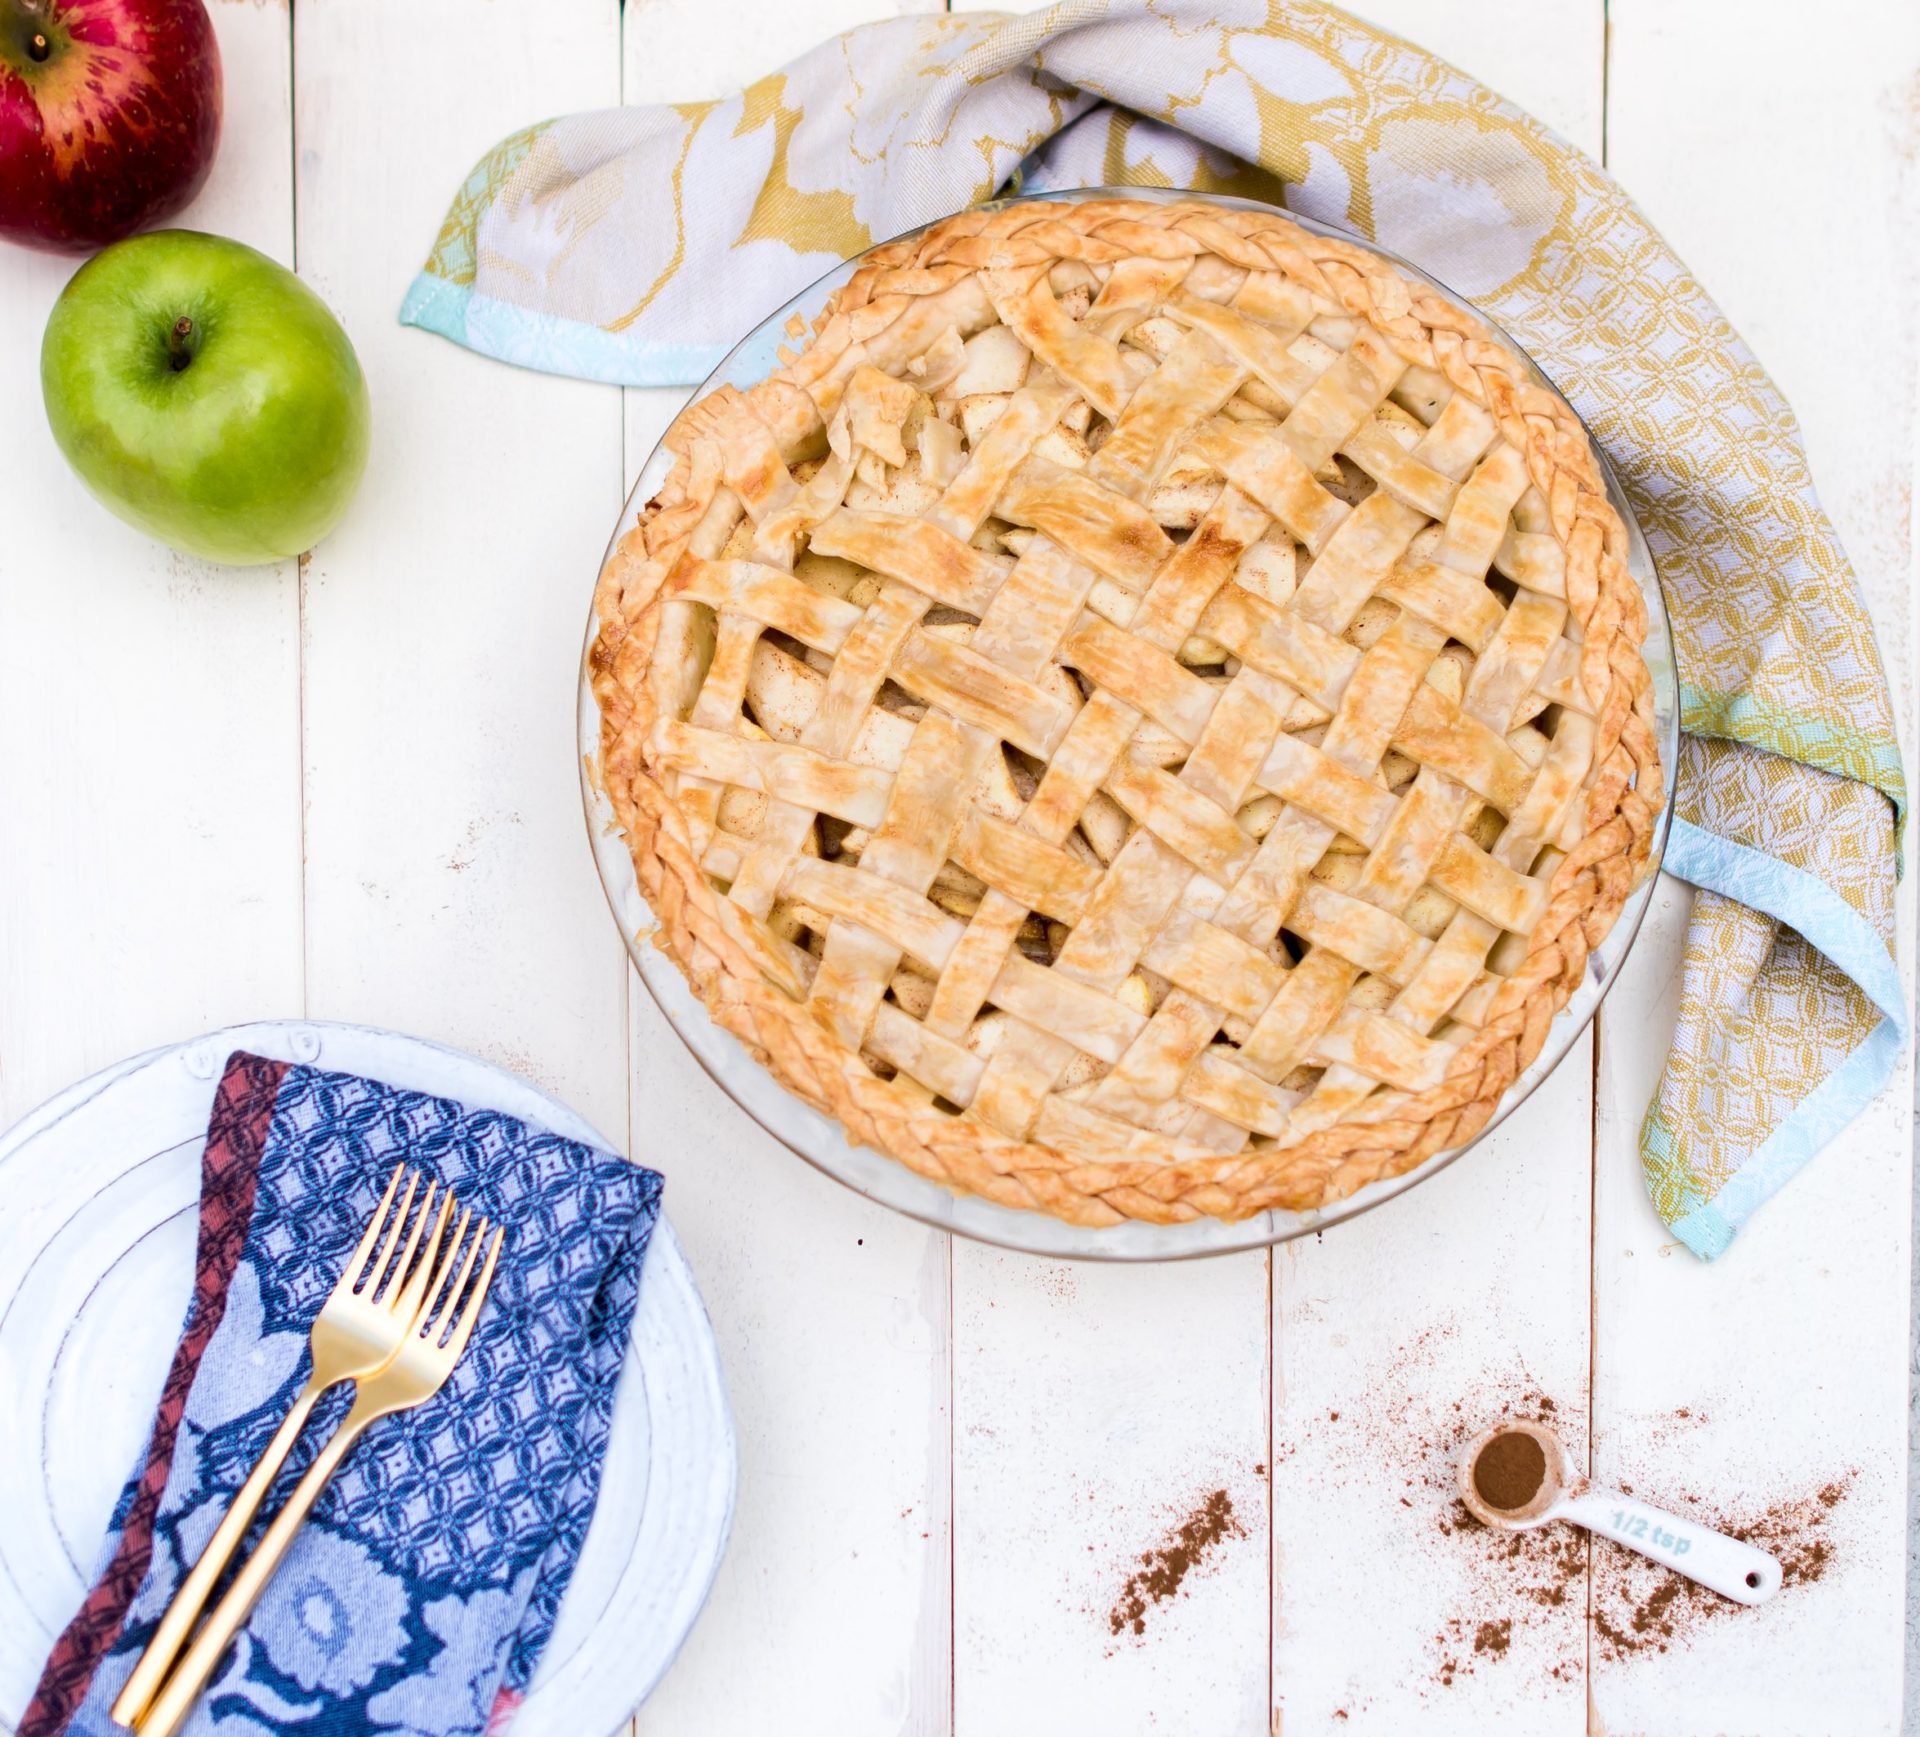
CLASSIC LATTICE-TOP APPLE PIE
INGREDIENTS
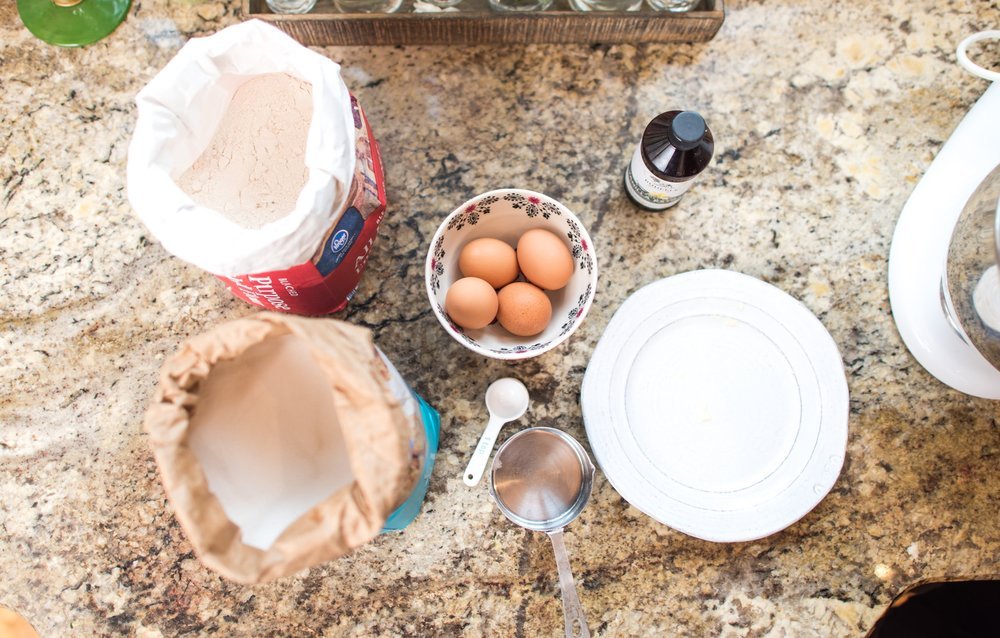
For Pie Crust:
- 1 1/4 cups all purpose flour
- 1/4 teaspoon salt
- 1/2 cup butter, chilled and diced 1/4 cup ice water
For Apple Pie:
- 1/3 cup sugar
- 2/3 cup packed brown sugar
- 3 tbsp all purpose flour + additional for flouring surfaces
- 1 tsp ground cinnamon
- 1/4 tsp ground nutmeg
- 1/4 tsp ground ginger
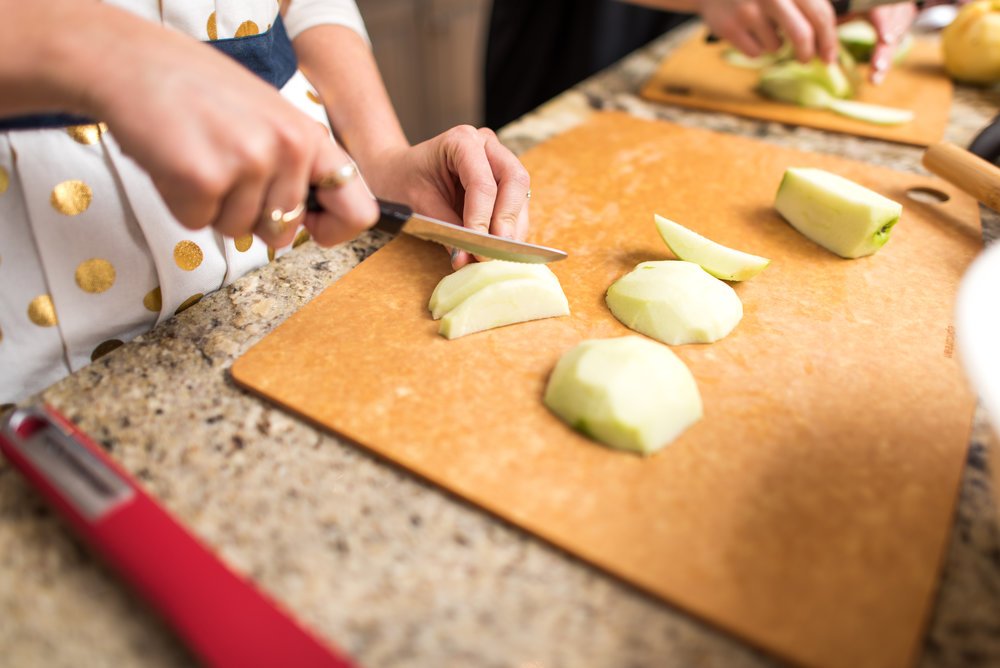
- 6 1/2 cups tart apples, peeled and thinly sliced (recommend a mix of Granny Smith and Honeycrisp)
- 1 tbsp freshly squeezed lemon juice
- 1 tbsp butter, sliced
- 1 egg white
- Additional sugar for topping
DIRECTIONS
For Dough:
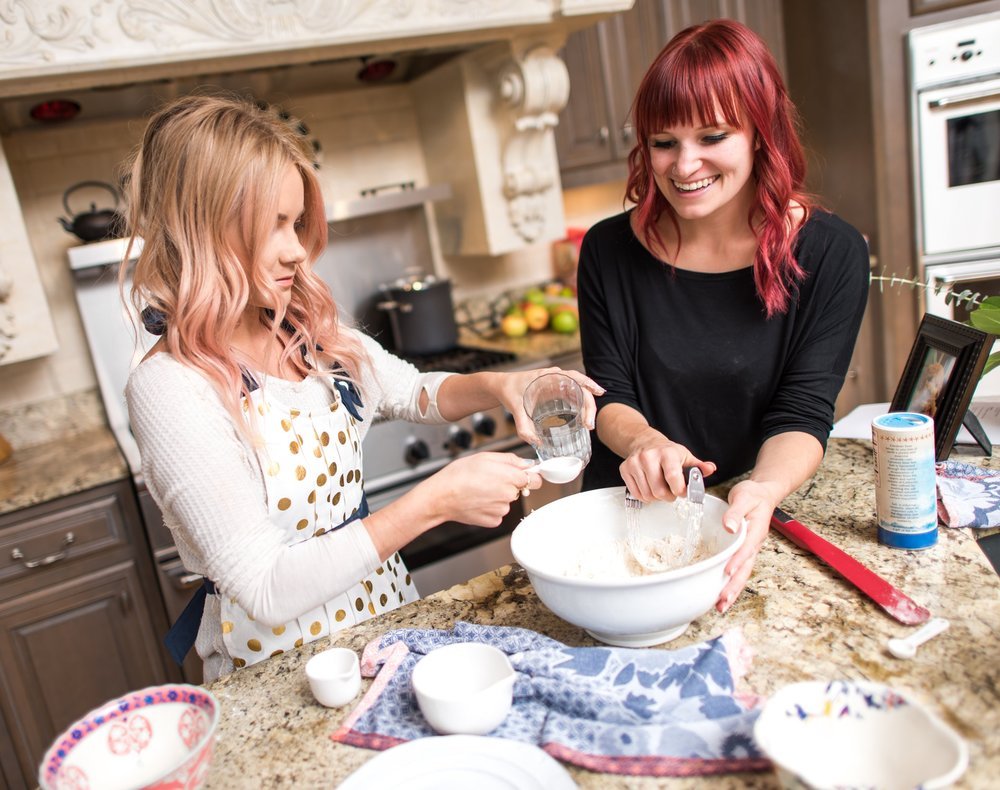
1. Combine flour and salt in a large bowl.
2. Cut in butter with pastry cutter until mixture becomes coarse crumbs. The key is to not let the butter melt. If you don’t have a pastry cutter, cut the pastry with a fork or two knives. You can also use your hands. Just remember to work quickly as the warmth of your hands will melt the butter quicker.
3. Add water, one tablespoon at a time, until dough mixture forms a ball.
4. Wrap well in cellophane and refrigerate at least 4 hours (or overnight).
For Apple Pie Crust & Filling:
1. Preheat oven to 375 degrees Fahrenheit.
2. Lightly flour your dough rolling surface.
3. Unwrap dough ball and roll out to fit a 9” pie pan, roughly 1/8-inch thick.
4. Place crust in pie pan and press into the bottom and sides. Trim pastry even with edge of pan.
5. Whisk egg white until foamy then brush over bottom crust in the pie pan.
6. In a small bowl, combine sugars, flour, and spices then set aside.
7. In a large bowl, toss apples with lemon juice. Add sugar mixture and toss to coat.
8. Fill the prepared pie crust with the apple mixture and place butter slices on top. The apples may rise higher than the crust, but they will soften and compact during baking.
For Lattice Top (see illustration below):
9. Roll out remaining pastry dough the same thickness as the bottom.
10. Cut into 1/2-inch wide strips with knife or pizza cutter.
11. Place the longest strips vertically across the widest part of the filling mound, leaving 1/2-inch spaces between each strip. Use a small brush dipped in water to adhere the beginning of strips to the edge of the bottom crust, creating columns. Fold every other column back without creasing it.
12. Then remembering our basic over-under-over weaving style, add a strip horizontally, creating a row, across the filling and columns. Adhere the beginning and end of each strip to the edge of the bottom crust with water. Unfold the bent columns back over the first row.
13. Fold back the columns you haven’t folded back yet, careful not to crease them. Remembering to leave 1/2-inch spaces between each row, lay the next row across the filling.
14. Repeat the process until the filling is completely covered.
15. Trim excess away with a knife for clean edges.
For Braided Edge:
15. Re-roll remaining dough into a rectangle and cut at least six 1/4-inch wide strips. Braid the strips, brush edges with water, and gently press it down around the edge of the pie pan. Cut more strips and braid as needed until the braid goes all the way around the pan.
16. Whisk egg white again until foamy then brush over lattice top an braided edges. Sprinkle with sugar.
17. Cover loosely with foil and bake for 25 minutes. Remove foil and bake for another 25 minutes, or until crust is golden brown and filling is bubbly.
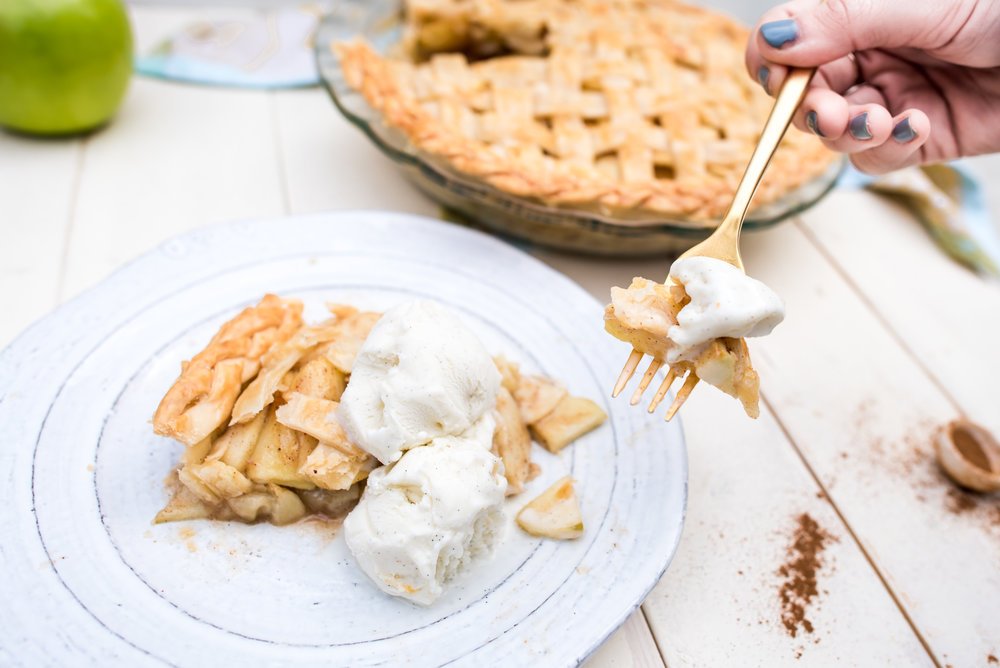
18. Allow to cool before serving, otherwise the pie will not hold it’s structure. When slicing, don’t forget about the “sacrificial” slice. Enjoy!
*If you’re in a time pinch, you can use a premade frozen or boxed pie crust mix, like Pillsbury Refrigerated Pie Crust or Jiffy Pie Crust Mix.
For an easy gluten-free and dairy-free adaptation, simply use Bob’s Red Mill Gluten Free Pie Crust Mix and substitute all purpose gluten-free flour and vegan butter substitute where applicable. Happy Baking!
SHOP THE POST


")

+ show Comments
- Hide Comments
add a comment